Ledger.com/Start – Official Ledger Hardware Wallet Setup Guide
Welcome to Ledger.com Start, the official onboarding resource for initializing your Ledger hardware wallet. This guide provides verified steps for setup, installation of Ledger Live, and secure configuration of your PIN and recovery phrase — ensuring complete control of your digital assets.
1. What Is Ledger.com Start?
Ledger.com Start is the trusted setup process for new Ledger devices. It verifies authenticity, guides you through firmware initialization, and connects your wallet to Ledger Live for ongoing management. The procedure ensures that your private keys are created and stored exclusively inside the hardware wallet’s secure chip.
2. Preparing Your Device
Begin by carefully unboxing your Ledger device. Check that the packaging is intact and untampered. Ledger’s hardware is sealed and verified using secure firmware checks during activation.
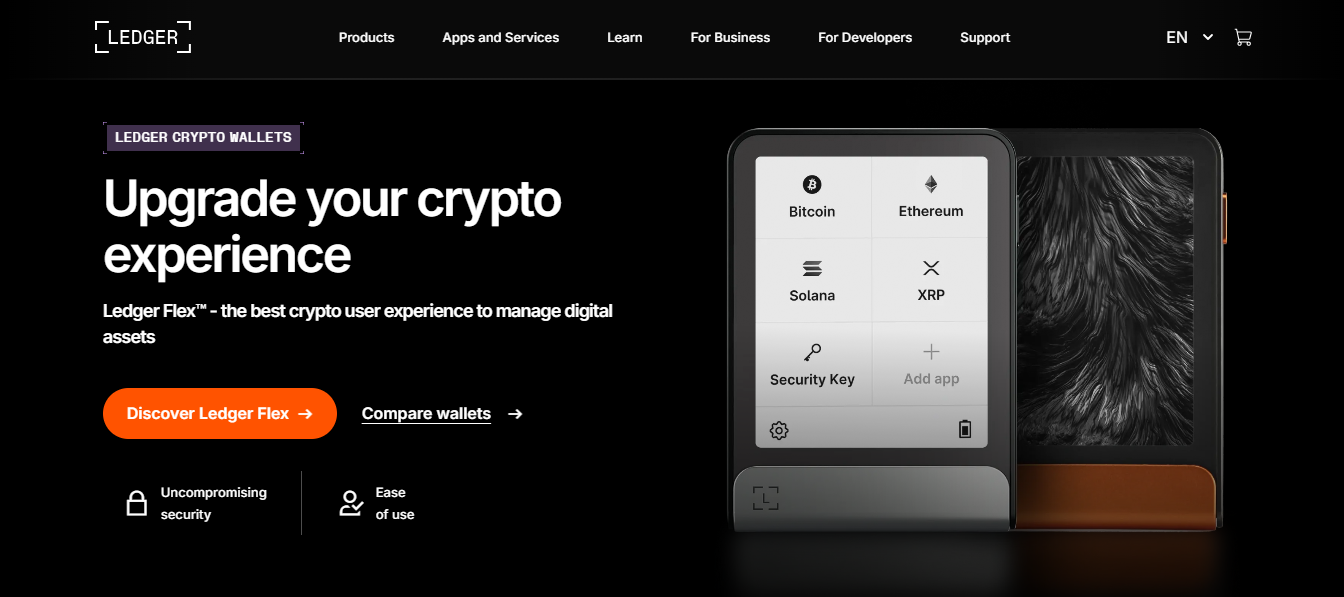
3. Installing Ledger Live
Ledger Live is the official management software for Ledger devices. Once installed, open the app and follow the guided setup steps to connect your hardware wallet. Ledger Live allows you to manage accounts, install coin applications, and perform secure firmware updates.
4. Setting Up a New Device
Select “Set up as new device” on your Ledger screen. Your device’s secure element will generate your private keys and recovery phrase internally, never exposing them online or to Ledger servers.
5. Creating Your PIN
Choose a strong, memorable PIN that protects your device from unauthorized use. If too many incorrect PIN attempts are made, the wallet automatically resets to prevent tampering.
6. Writing Down the Recovery Phrase
The recovery phrase is the 24-word backup that restores access to your funds if your device is lost or reset. Write each word carefully, in order, and keep it offline in a safe location. Never take photos, store it digitally, or share it with anyone. Whoever holds your recovery phrase controls your assets.
7. Firmware Verification
During setup, your device checks the authenticity of its firmware. Only cryptographically signed firmware from Ledger can run on your device. If any warning appears, stop immediately and verify that your wallet is genuine.
8. Pairing with Ledger Live
Once initialized, connect your Ledger device to Ledger Live. Your private keys never leave the secure chip; Ledger Live simply reads public data to display your balances and manage transactions safely.
9. Approving Transactions Securely
Every transaction must be confirmed on your hardware wallet’s physical screen. Always verify the recipient address and amount directly before approval. This physical validation ensures full control, even if your computer is compromised.
10. Performing Firmware Updates
Ledger releases firmware updates periodically to enhance performance and add asset compatibility. Updates can be completed through Ledger Live — your private keys remain securely protected throughout the process.
11. Essential Security Practices
- Never share your recovery phrase or PIN.
- Verify all transactions on the device’s screen before approval.
- Use only the official Ledger Live application.
- Keep your recovery phrase stored securely offline.
- Disconnect your wallet when not in active use.
12. Troubleshooting Your Device
If your device isn’t detected, reconnect it directly to your computer’s USB port (avoid hubs), restart Ledger Live, or switch cables. These steps won’t affect the security of your wallet or stored assets.